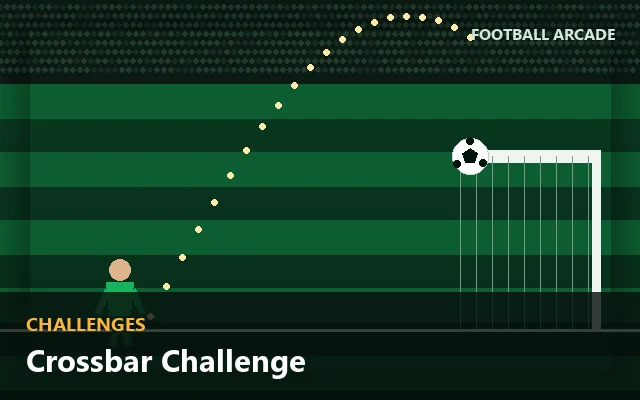
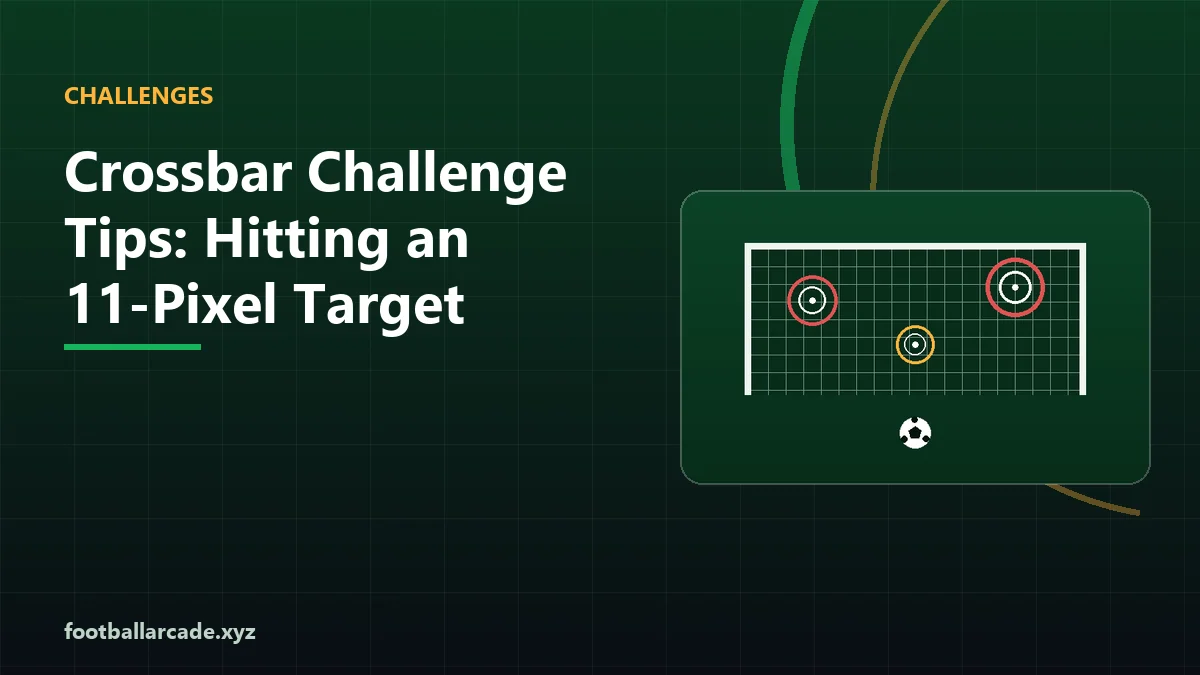
Crossbar Challenge is the only game here with no opponent. There is no keeper, no wall and no clock — just projectile motion, a crosswind, and a target 11 pixels tall. That makes it the purest reasoning game on the site, and the one where a method beats instinct by the widest margin.
The physics you are working with
| Parameter | Range | Notes |
|---|---|---|
| Angle | 18° to 62° | Set by the first meter |
| Velocity | 520 to 940 px/s | 520 + power × 420 |
| Gravity | 900 px/s² | Constant |
| Wind | −60 to +60 px/s² | Horizontal only, changes every attempt |
| Distance to the goal plane | 640 px (64 m) | Fixed |
| Bar tolerance | ±11 px | Measured at the goal plane |
Note that wind is applied to horizontal acceleration only. It does not change the shape of your arc — it changes how far along that arc you have travelled when you reach the goal plane. Which means a tailwind behaves almost exactly like extra power.
Step 1: pick one angle and keep it
The instinct is to vary angle and power together. Do not. With two variables you cannot attribute a miss to either.
Fix the angle near 45 degrees. At that angle range is maximised for a given velocity, which makes power the most sensitive control — and a sensitive single control is exactly what you want when you are iterating.
Once you can hit near the bar reliably at 45 degrees, experimenting with a flatter or steeper trajectory becomes meaningful. Before that it is noise.
Step 2: read the wind before the meters
The wind label is displayed before you lock anything, and its effect dwarfs a couple of degrees of angle. A 60-unit tailwind acting over roughly a second of flight adds substantial horizontal distance — enough to turn a perfect shot into one that sails past the goal entirely.
Rough compensation: with a strong tailwind, take a little less power. With a strong headwind, a little more. "A little" is on the order of 5% of the meter, which is about as precisely as you can control it anyway.
Step 3: use the previous flight path
This is the game's most generous feature and the reason a method works. Your previous shot's trajectory stays on screen as a dotted line, and the result text tells you how many pixels over or under the bar you were.
So each attempt is a measurement:
- Over the bar by 40 px? Same angle, slightly less power.
- Into the goal, 30 px under the bar? Same angle, slightly more power.
- Short of the line? Considerably more power — you are not in the right region yet.
- Past the goal entirely? The wind is with you and you have not compensated.
Attempts one to three are calibration. Attempts four to ten are where your score comes from, and by then you should be inside 20 pixels.
Step 4: aim to descend onto the bar
A subtle but real advantage. A ball crossing the goal plane on the way down is moving more slowly vertically than one still rising steeply, which means it spends more time near any given height — and the bar check is a height test.
Practically: slightly more angle and slightly less power puts the apex before the goal, so the ball arrives descending. That widens your effective margin on an 11-pixel target more than any other adjustment.
Why a goal is only worth 80
Because it is not the objective. The scoring is 500 for the bar and 80 for the net, a ratio of more than six to one, which tells you plainly that the net is a consolation for missing downwards.
The practical consequence: never adjust toward the net to "get something". A shot aimed under the bar scores 80 and teaches you nothing, while a shot aimed at the bar either scores 500 or gives you a measurement.
What a good game looks like
| Crossbars | Verdict |
|---|---|
| 0 | Normal for a first game — you spent it calibrating |
| 1 | A solid game; you found the region |
| 2 | A good game; you are reading the wind |
| 3+ | Excellent; you have a repeatable method |
Long-Range Shooting in Arcade Football Games covers why distance makes everything harder, and How to Improve Your Accuracy has the general method for single-variable iteration.
The arithmetic, if you want it
You do not need this to play well, but it turns the game from iteration into a calculation, and it is short.
At 45 degrees, the horizontal and vertical components of the launch velocity are equal — each about 0.707 times the total. With gravity at 900 and the goal plane 640 pixels away, the flight time to the plane is 640 divided by the horizontal component. Height at the plane is then the vertical component times that time, minus half of gravity times time squared.
Run it for a mid-power shot at 45 degrees — velocity around 770, components around 545 — and the flight takes about 1.17 seconds, which puts the ball well below the bar. Increase power and the flight shortens, so gravity has less time to act and the ball arrives higher. That is why more power raises your arrival height at a fixed angle, which is the opposite of the intuition most players bring from penalty games.
The practical version: if you are under the bar, add power. If you are over it, take power off. The angle is not the problem.
Reading the wind in one number
The wind label gives you a value between −60 and +60, applied to horizontal acceleration. Over a flight of roughly a second, that changes your horizontal distance by up to about 30 pixels — which on a 640-pixel journey is around 5%.
So the rule of thumb is simple: a strong tailwind is worth about 5% less power, and a strong headwind about 5% more. That is roughly one visible notch on the meter, which is about as precisely as anyone can stop an oscillating bar anyway.