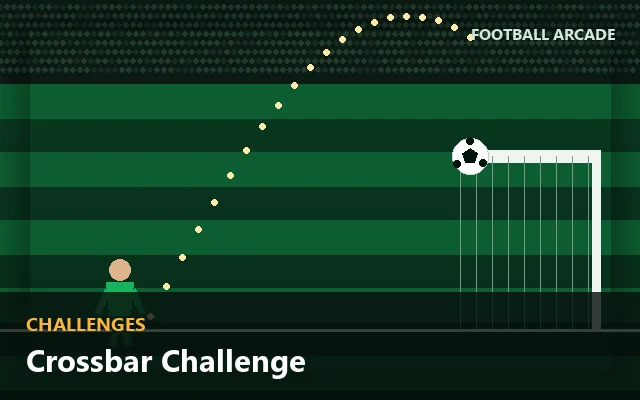

This is the most common single mistake in football arcade games, it costs more points than anything else, and it takes about thirty seconds to fix once you know what is happening.
The mechanic
In nearly every football shooting game, the power meter controls two things: how fast the ball travels and how high it finishes. Past a certain point on the meter, the ball rises faster than it travels forward and leaves the frame entirely.
In our games those thresholds are explicit and marked on the meter:
| Game | Threshold | Shown as |
|---|---|---|
| Penalty Kick Challenge | 94% of the meter | A white line on the power bar |
| Free Kick Master | 93% of the meter | A white line on the power bar |
| Crossbar Challenge | No threshold — but angle and power interact | The previous flight path |
Why games are built this way
It is not there to annoy you. If power only controlled speed, maximum power would always be the correct choice, because a faster ball is strictly harder to save. The game would have exactly one optimal strategy and therefore no decision.
Coupling height to power creates a genuine trade-off: more power means less time for the keeper but a higher finish, and past a point no finish at all. That is what makes the second timing bar interesting rather than decorative.
The fix, in one sentence
Treat the top 10% of any power meter as if it does not exist.
Practically, aim for the middle of the upper half — roughly 75% to 85%. You collect the power bonus, which begins at 70% in our penalty game. You shorten the keeper's dive time meaningfully: at 85% it completes only about three-quarters of its dive. And you leave a wide margin before the cliff.
The technique that makes it reliable
Do not try to stop the meter at a number. Instead, press during the rise, not near the peak.
Your press registers slightly later than you intend. Pressing near the top means that delay carries you over the threshold. Pressing while the meter is still climbing means the delay carries you further up into the safe band, which costs you nothing.
This is a small change in intention that eliminates almost all ballooned shots, because it makes your latency work in your favour rather than against you.
The other cause: you are pressing at the wrong moment on purpose
A minority of over-the-bar shots are not a timing failure at all. They happen because players believe a harder shot is a braver shot, and take maximum power deliberately on important kicks.
The arithmetic disagrees. A goal is worth 100 points, the maximum power bonus is 15, and a shot over the bar is worth nothing. Going to the top of the meter to chase 15 points while risking 100 is a bad trade at any hit rate.
How to check whether this is your problem
Play one round of Penalty Kick Challenge and count only the shots that cleared the bar. Then play a second round with a hard rule: never press the power meter in its top quarter.
If your goal count improves, this was your problem. In our own testing it is the single most common one, and the improvement is usually one or two goals per round.
The same mechanic elsewhere
The power-to-height coupling appears throughout the genre, and recognising it in an unfamiliar game is worth more than any specific number:
- Free-kick games add a second reason to use power — clearing the wall — which squeezes your safe band from both directions. Free-Kick Arcade Game Strategies covers that.
- Crossbar games make height the objective rather than a hazard, which inverts the whole problem. Crossbar Challenge Tips explains how.
- Timed shooting games often randomise height within a fair band so that the keeper's vertical coverage still matters, leaving you to control placement only.
In all of them, the first question to ask about a new power meter is: what does the top of this do? The answer is usually "nothing good".
Spotting the threshold in an unfamiliar game
Our games draw the threshold on the meter. Most do not, which leaves you to find it — and there is a quick way that costs one round.
Take a round where the only thing you vary is power, deliberately, from low to high across your attempts, and aim at the same point every time. Note the power at which shots start clearing the frame. That is the threshold, and it is usually somewhere between 90% and 100% of the meter because designers want the top of the bar to be tempting rather than useless.
Two things you will often discover in the process. Some games have no threshold at all — power controls only speed — in which case maximum power really is optimal and the game is simpler than it looks. And some games put the threshold surprisingly low, around 80%, which makes the usable band narrow and the game considerably harder.
The same trap in other forms
Power-to-height is the most common version, but the pattern — a control whose extreme is actively useless — appears elsewhere in this genre. Recognising the shape is more valuable than remembering the specific number.
| Control | The trap | Where |
|---|---|---|
| Power | Above the threshold the ball clears the bar | Penalty Kick Challenge, Free Kick Master |
| Curve | Maximum bend from a wide aim finishes outside the far post | Free Kick Master |
| Placement | The exact corner adds almost no bonus and real miss risk | Every shooting game |
| Aggression | Maximum risk at a high multiplier costs more than it gains | Goal Target Challenge, Score Attack |
In all four cases the optimum sits a visible margin inside the extreme. That is a general property of well-designed arcade scoring, and it is the single most transferable idea on this site.