
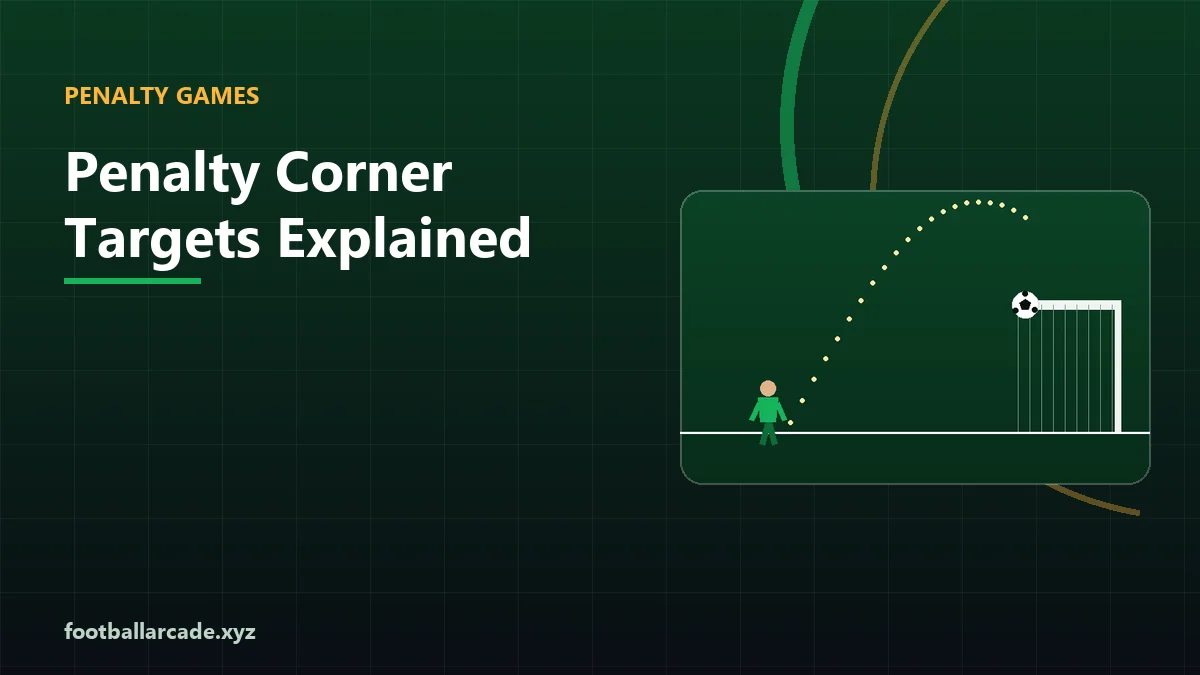
"Aim for the corner" is the standard advice and it is very nearly right. The problem is the word "for" — it implies the corner itself, and the corner itself is the one part of the goal where the reward has stopped growing while the risk keeps climbing.
How placement bonuses are calculated
In Penalty Kick Challenge the bonus is computed from how far the ball's finishing point is from the centre of the goal, normalised against the half-width, and scaled up to 45 points. It is linear, and it saturates at the post.
| Finishing point | Placement bonus | Chance of missing the frame | Verdict |
|---|---|---|---|
| Centre | 0 | None | Easy save |
| Halfway to the post | ~22 | None | Safe but reachable |
| 80% of the way | ~36 | Very low | Excellent |
| 90% of the way | ~40 | Low | Optimal |
| At the post | 45 | Real | Five points for a 100-point risk |
That final row is the whole argument. You are paying a genuine chance of scoring nothing in exchange for five points, in a game where the goal itself is worth a hundred.
Why the inside of the post is the correct target
Three reasons, and they stack:
- The bonus has effectively saturated. 90% of the way collects about 89% of the available bonus.
- The reticle is least precise at the extremes in a different sense. The marker follows a sine wave, so it is slowest near the edges — which helps — but your own lead error is still there, and at the edge there is no goal left to absorb it.
- The keeper's reach is already beaten. Its dive target is about 31% of the goal width either side of centre, and reach is roughly 104 pixels. Once you are 80% of the way to the post and low, you are outside that circle whether or not it guessed right.
The four target zones, ranked
Dividing the goal into practical zones rather than geometric corners:
1. Low, 80–90% to either post — the best target
Outside the keeper's reach circle on most dives, well inside the frame, and collects nearly the full placement bonus. This is the shot to default to and the one to use under pressure.
2. High, 80–90% to either post — good but greedy
Same horizontal placement, more power required, closer to the keeper's hand height. Needs the power meter in its upper region, which brings the 94% threshold into play. Use it to vary your pattern, not as a default.
3. Low centre — better than it sounds
Worth almost no placement bonus, but it beats a keeper that dives — which it does two times in three. As an occasional pattern-breaker against a keeper reading you well, it is genuinely viable.
4. Mid-height anywhere — the worst target
Closest to the keeper's hand position at every horizontal placement. If your saves feel unlucky, this is probably where you are shooting.
Which corner late in a round?
By kick eight or nine the keeper reads you more than 45% of the time, so the target that matters is the one that survives being read. That is zone one, low and 80–90% wide — and specifically on the side you have used least.
What does not work late is escalating to the exact corner. The extra five points are irrelevant next to the increased chance of missing, and a miss at 9 of 10 is the most expensive shot in the round.
Applying this to target games
The same saturation logic applies in Goal Target Challenge, where ring value rises as the ring shrinks. A fully shrunken ring is worth about 78 against 30 for a full-size one — but a miss resets a multiplier worth up to 3x on everything that follows.
So the principle generalises: find where a reward curve flattens, and stop there. Football Target Shooting Tips applies it to ring selection, and How to Build a High Score states it as a general method.
Why the keeper's dive target matters more than the corner
One number explains most of what happens to your penalties, and it is not about the goal at all: our keeper dives to a point roughly 31% of the goal's width either side of centre — not to the ball.
In a 496-pixel mouth that puts its hands around 154 pixels from the middle when it dives, with a reach of about 104 pixels. So its coverage on the side it chooses runs roughly from 50 to 258 pixels out from centre, vertically centred on hand height.
Two conclusions fall straight out of that:
- The far end of the goal is outside its coverage even when it guesses right. A ball finishing beyond about 258 pixels from centre is past the reach circle — which is why 80–90% of the way to the post is such a strong target.
- A shot halfway to the post is inside it. That region, roughly 50–150 pixels out, is the worst place to aim: too far out to beat a central keeper reliably, too close in to beat a diving one.
So the goal divides into three zones rather than two: safe-wide, dangerous-middle, and the narrow central strip that beats a diving keeper precisely because it dives away from it.
The dead zone
That middle band is worth naming because players drift into it without noticing, usually by aiming at a corner and pressing late.
If your saves feel evenly distributed across both sides and no particular height, check whether your shots are finishing in that zone. The fix is not more accuracy — it is a bigger lead on the reticle, so your intended 80–90% placement actually lands there instead of drifting back toward the middle. Penalty Kick Timing Tips covers measuring your lead.


