
Free-kick games have a steeper learning curve than penalty games and a much flatter one after that, because once you understand the geometry the same plan works every time. Almost all the difficulty is in the first ten attempts.
This is the routine, written against Free Kick Master.
Step 0: read the wall
Before you press anything, look at where the four-player wall is standing. It is repositioned between attempts across the middle of the pitch, and its position determines the entire plan.
Most players skip this because the aiming meter starts moving immediately and feels urgent. It is not urgent — the sweep is a loop, so you can wait as long as you like and take the next pass.
What you need: which side of centre the wall is on, and whether it is close to the middle.
Step 1: aim away from the wall, not through the gap
This is the step almost everyone gets wrong, and the reason is a piece of geometry that is easy to miss: the ball starts at the centre of the pitch, at x = 480.
The wall is checked once, at 45% of the flight. At that moment the ball has travelled only 45% of the way from the centre toward your aim point, plus about 35 pixels of curve at most. So its position is:
x = 480 + 0.45 × (your aim − 480) + 35 × curve
Aim at 300 and the ball passes the wall at about 399 — less than 80 pixels left of centre, despite an aim that felt wide. The wall blocks 82 pixels either side of its own centre, so a wall anywhere near the middle still catches it.
What works instead is to aim away from the side the wall is on. With the wall at 400, aim right of centre: the ball passes the wall plane comfortably to its right, and your curve then brings the finish back into the goal.
Step 2: power — and the number that changes everything
Power raises the finishing height, and there is a precise threshold worth memorising: above 71% the ball is over the wall's head height at the plane, whatever its horizontal position. The crossbar threshold is 93%.
So the working band for lifting it is roughly 75–90%, which is comfortable rather than tight. Against a central wall — about half of them — this is the reliable answer, and it is why "lift it" is not a fallback but a genuine first-choice plan.
If you are going around rather than over, 75–85% is still the right band: short flight, decent power contribution, well clear of the bar.
Step 3: spend the curve
Curve decides where the ball finishes: final position equals your aim point plus up to 130 pixels of bend. It is also worth up to 40 points on its own.
So heavy curve is not a flourish, it is the scoring play. A bending finish into the middle of the net outscores a straight one into the corner, which is unusual and makes the intended technique also the highest-scoring one.
Wall left of centre? Aim right of centre and curve left. Wall right of centre? Aim left and curve right. Wall dead centre? Lift it at 75–90%, or take the extreme end of the aim sweep with full curve back.
The two plans, side by side
| Around the wall | Over the wall | |
|---|---|---|
| Aim | Opposite side of centre from the wall | Anywhere that finishes in the goal |
| Power | 75–85% | 75–90% |
| Curve | Heavy, back toward goal | Modest |
| Scores | More — curve bonus up to 40 | Less |
| Main risk | Blocked, or wide of the post | Over the bar above 93% |
| Use when | The wall is clearly off centre | The wall is central, or you want reliability |
Note that the two power bands overlap almost completely. Going over the wall costs you nothing in power terms, because 71% already clears it — which is why lifting is a much better default than its reputation suggests.
Reading a failed attempt
Each failure mode names its own fix:
- Blocked — your aim was inside the wall. Aim wider by the margin you were short.
- Wide — your curve carried the ball past the post. Same aim, less curve, or same curve from a narrower aim.
- Over the bar — power above 93%. Nothing to do with aim.
- Saved — you solved the wall. Apply penalty logic: lower and to a side you have not just used. See Penalty Corner Targets Explained.
Blocks outnumber saves substantially for new players, which tells you where to spend your attention.
A practice progression
- Four attempts with zero curve. Lock the curve meter centrally. You are learning exactly where the wall blocks.
- Four attempts with maximum curve from a deliberately wide aim. Watch where the ball finishes. This turns "130 pixels" into something your hands understand.
- One full round playing properly, reading the wall first every single time.
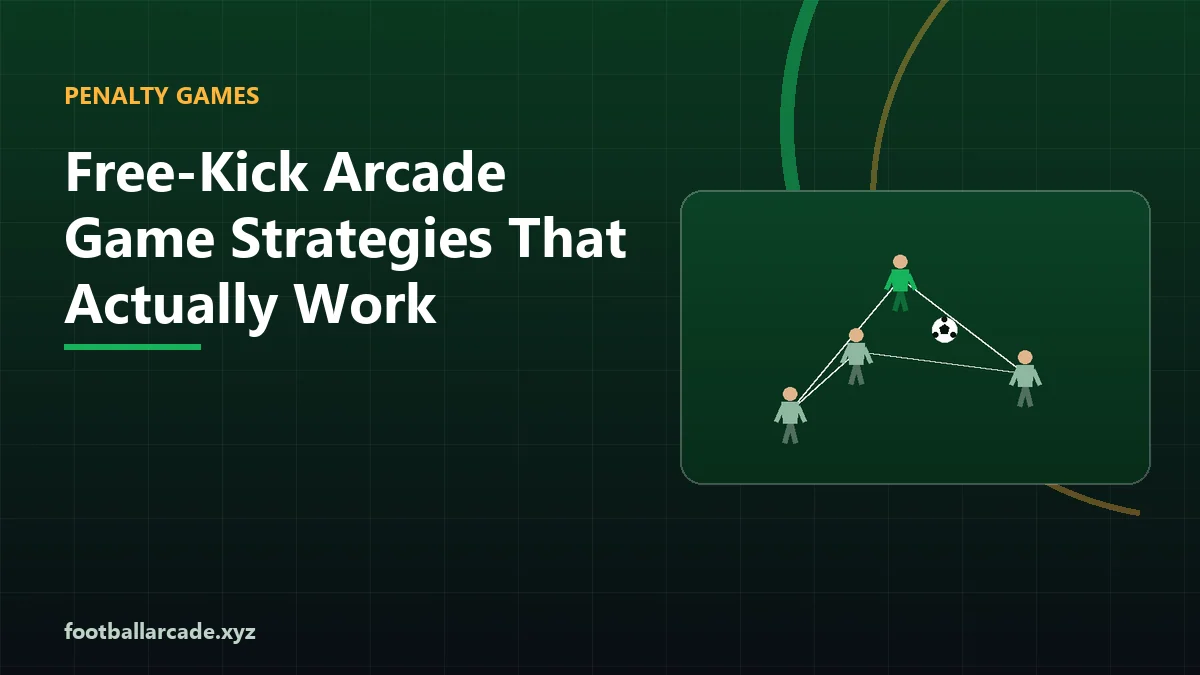
Free-Kick Arcade Game Strategies That Actually Work is the long version, and How Curve and Swerve Work in Football Games explains the physics model.
The eight-attempt plan
A round gives you eight attempts, and treating them as eight independent shots wastes the information the early ones produce. This allocation works better.
| Attempts | Purpose | Approach |
|---|---|---|
| 1–2 | Calibration | Zero curve, aim well away from the wall's side. You are learning where the ball actually passes the plane. |
| 3–4 | Curve calibration | Maximum curve from a deliberately wide aim. Watch where the ball finishes. |
| 5–8 | Scoring | Aim away from the wall's side, 75–90% power, curve set to bring the ball inside the post. |
Spending two attempts on information feels wasteful and usually is not: four well-informed attempts out-score eight guesses, and the curve bonus means each informed goal is worth up to 85 more than a straight one.
A common misread worth naming
Many players conclude that free kicks are mostly luck because their successful attempts do not seem repeatable. The usual cause is that the wall moves between attempts, so the same aim produces a block on one attempt and a goal on the next — and it looks random when it is entirely deterministic.
The fix is to stop thinking in absolute aim positions and start thinking in relative ones: "opposite side of centre from the wall" rather than "aim at 300". Once your plan is expressed relative to the wall's side, it repeats perfectly, and the game stops feeling arbitrary.